Managing your builders in Diplomacy is Not an Option can feel like herding cats—there’s always something more to build, repair, or upgrade, and not enough hands to get it all done.
To expand your workforce and ensure your settlement doesn’t crumble under enemy attacks or lack of infrastructure, here’s how to get more builders and manage them effectively.
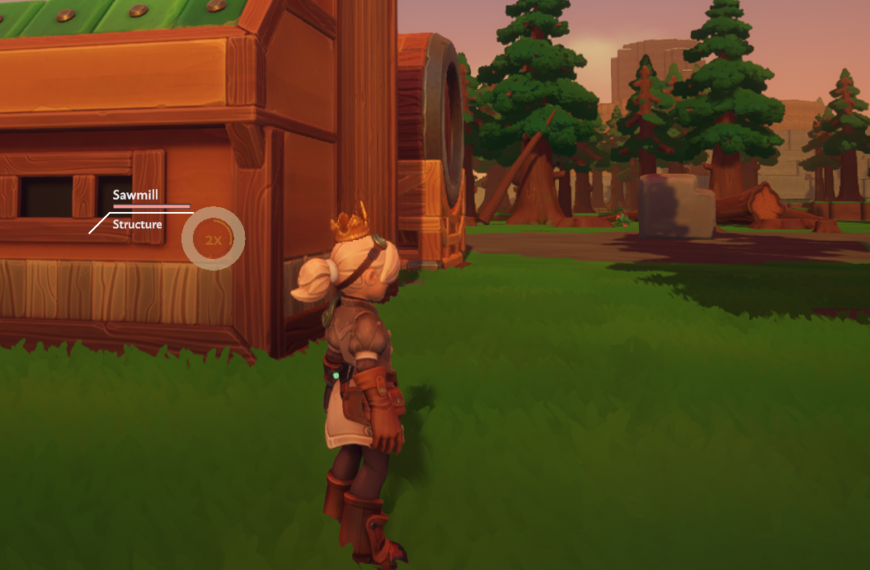
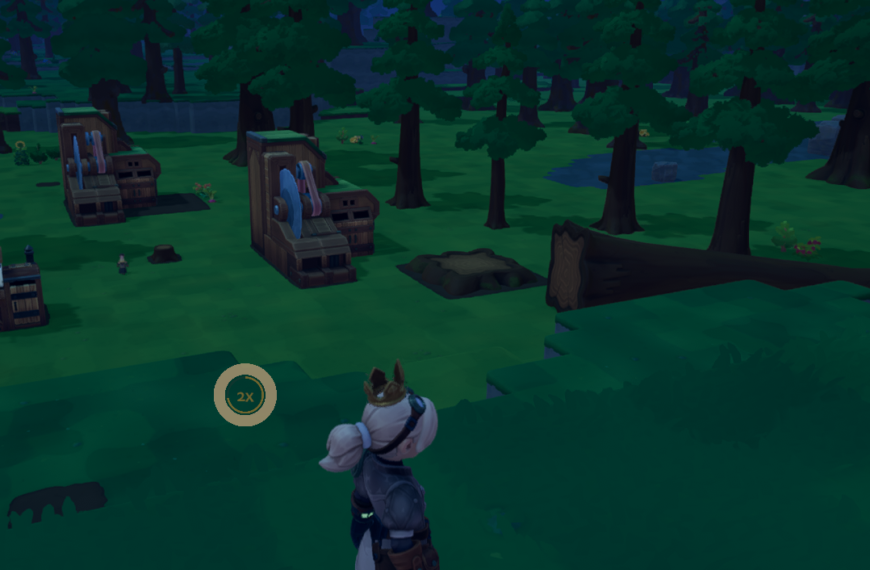
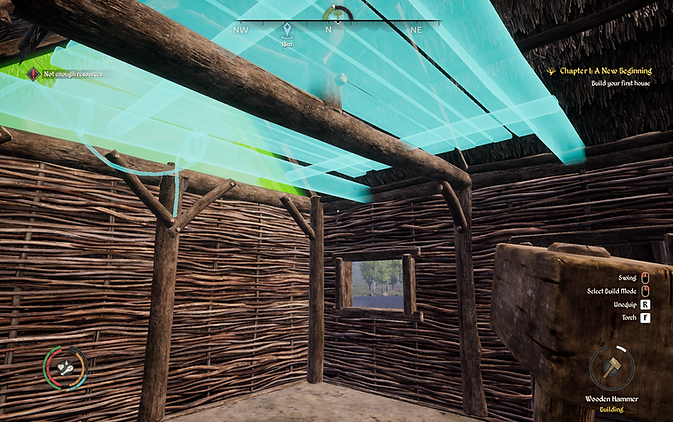
Start by Building a Builder’s House
The first step to increasing your number of builders is to construct a Builder’s House. You begin the game with two builders, which might seem enough at first.
However, as you start expanding, constructing more resource-producing buildings and defensive structures, those two builders can’t keep up. Enter the Builder’s House.
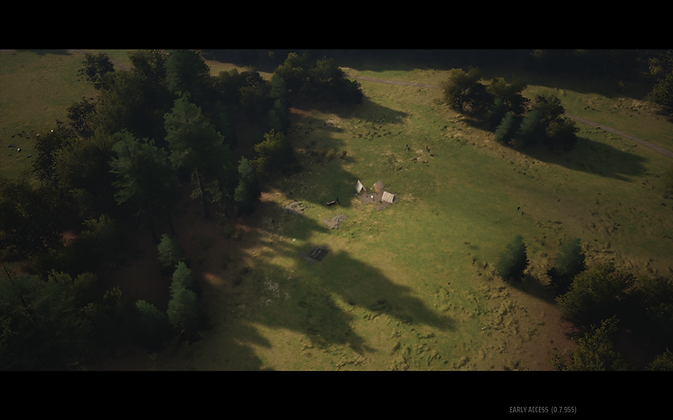
Once you’ve built it, you’ll unlock additional builders, enabling you to get construction projects done faster. A Builder’s House is particularly useful when you’re setting up distant mines or fortifications, as builders can take a long time traveling back and forth to these locations.
Placing a Builder’s House near key resource areas can dramatically cut down on wasted time.
Prioritize Expansion Wisely
Building more isn’t always better if it leads to spreading your resources too thin. Before you start constructing your next building, assess what’s most urgent. If your builders are struggling to keep up, consider delaying less crucial projects.
For example, if you’ve already got enough wood, hold off on building another Lumber Mill. Focus on ensuring that key structures like Stone Mines, Fisherman’s Huts, and Food Production Buildings are in place first.
Builders are the backbone of your expansion—without enough of them, your progress slows down considerably.
More Builders, More Flexibility
One major advantage of adding more builders is flexibility. In the early stages, it’s common to run into bottlenecks—maybe you need to repair a wall, but also build new resource structures, and suddenly, your builders are overwhelmed.
With more builders, you can divide and conquer.
By assigning one group to repairs and another to new construction, you ensure that no task lags behind. In Diplomacy is Not an Option, multitasking is key.
A well-balanced team of builders allows you to adapt to changing circumstances—whether you’re recovering from an enemy siege or rapidly expanding your defenses before the next wave hits.
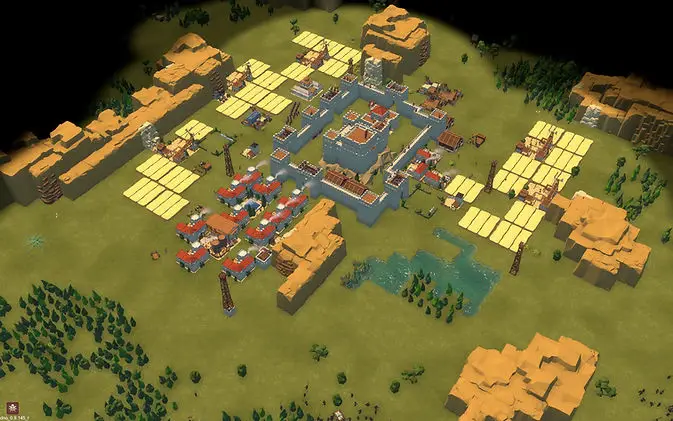
Place Builder’s Houses Strategically
Placing Builder’s Houses strategically can dramatically increase their efficiency. If all of your builders have to walk across the map to reach the farthest resource buildings, you’re wasting time that could be spent on construction.
Think about where the busiest areas of your settlement are, and position Builder’s Houses accordingly.
For example, near newly discovered stone deposits or along the front lines where you’ll be constructing defensive structures are prime locations for a Builder’s House. This way, your builders can move quickly between projects and maximize their output.
Upgrades and Efficiency Boosts
As your settlement grows, you’ll have opportunities to upgrade various structures, including the Builder’s House. Upgrading these houses can significantly improve the efficiency of your builders, allowing them to carry out tasks more quickly.
Additionally, researching certain technologies can give your workers a boost, such as the Comfortable Shoes upgrade, which increases movement speed.
Faster builders mean quicker construction and repairs, which is essential when preparing for waves of enemies.
Balancing Builders and Soldiers
It’s tempting to focus all your attention on building, but don’t forget that you need a strong defense, too. Managing the balance between builders and soldiers is crucial in Diplomacy is Not an Option.
If you have too many builders and not enough soldiers, your town might be vulnerable during enemy attacks. On the other hand, neglecting builders can leave you without the infrastructure needed to support a growing army.
One strategy is to time your builder assignments around the game’s attack waves.
Right after an enemy wave, assign more workers to build new structures or repair damage. As the next wave approaches, shift more workers towards becoming soldiers or reinforcing defenses.
By cycling workers between these roles, you can maintain a stable workforce while staying prepared for combat.
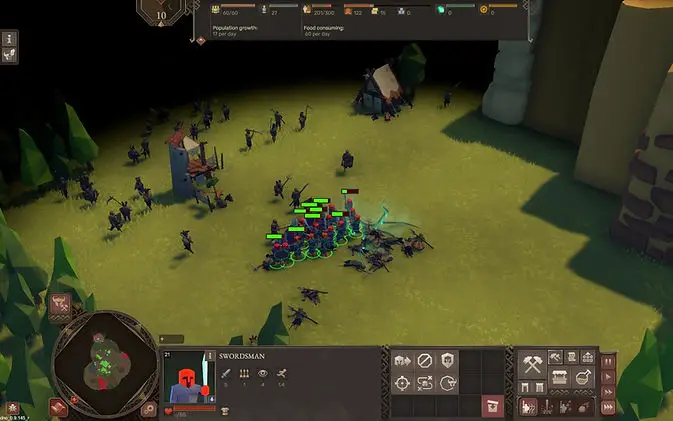
Using Builders Efficiently During Sieges
When you’re under attack, builders play a crucial role in keeping your settlement intact. While soldiers are out defending your walls, builders should be tasked with constant repairs to any breaches in the defenses.
The key here is to have multiple Builder’s Houses spread out near your walls, so your builders can respond quickly to any damage.
Keep in mind that builders will stop working if they’re too close to the action. Try to place them far enough behind the front lines to stay safe, but close enough to reach damaged structures in time.
An extra set of builders can mean the difference between a crumbling wall and a solid defense during a siege.
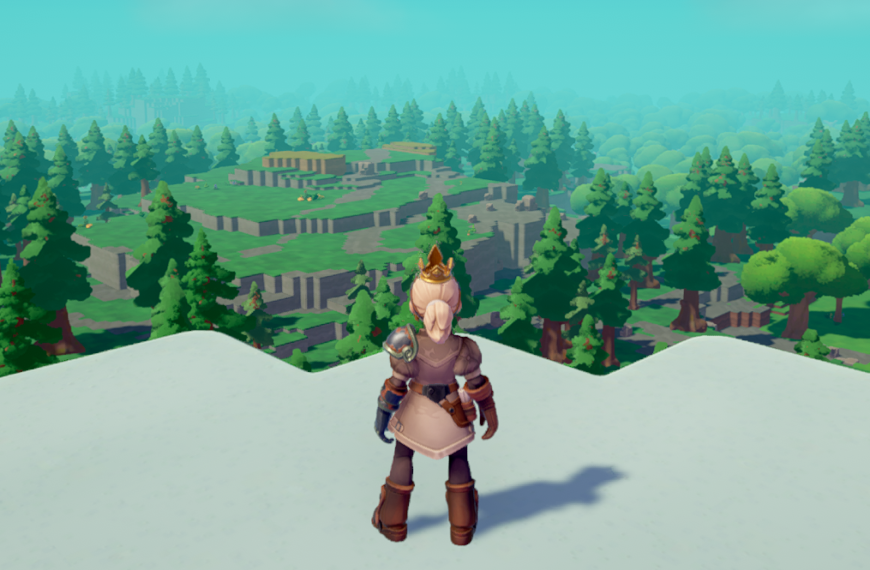
Timing Your Expansions
Knowing when to expand is just as important as having the right number of builders. If you expand too quickly, you’ll end up with too many structures and not enough workers to build or maintain them.
Be sure to expand gradually, and always build an additional Builder’s House as soon as you notice that construction projects are starting to pile up.
If you’re trying to set up distant mining operations or additional defensive towers, plan your expansions carefully.
of stretching your builders too far, set up another Builder’s House closer to your new projects. This will allow your builders to stay productive without spending all their time traveling across the map.
So That’s How to Get More Builders
Builders are the unsung heroes of Diplomacy is Not an Option. Without them, your settlements would fall into disrepair, and your defenses wouldn’t stand a chance against the waves of enemies.
By constructing Builder’s Houses, strategically placing them, and managing your workforce wisely, you can keep your settlement thriving and growing, even under constant pressure.
So, the next time you’re staring down a crumbling wall or a half-built barracks, remember: the more builders, the better.
Just be sure to balance your resources, place your Builder’s Houses thoughtfully, and use your builders efficiently.
With these strategies, your settlement will be well on its way to becoming an unbreakable fortress!
 By
By